“Can we wire the underfloor heating thermostat now?”
“Not yet. Before wiring, we need to confirm what system it is controlling, what sensor logic it needs, and whether the thermostat is actually matched to the project.”
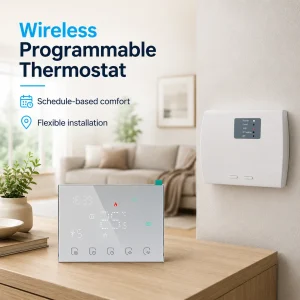
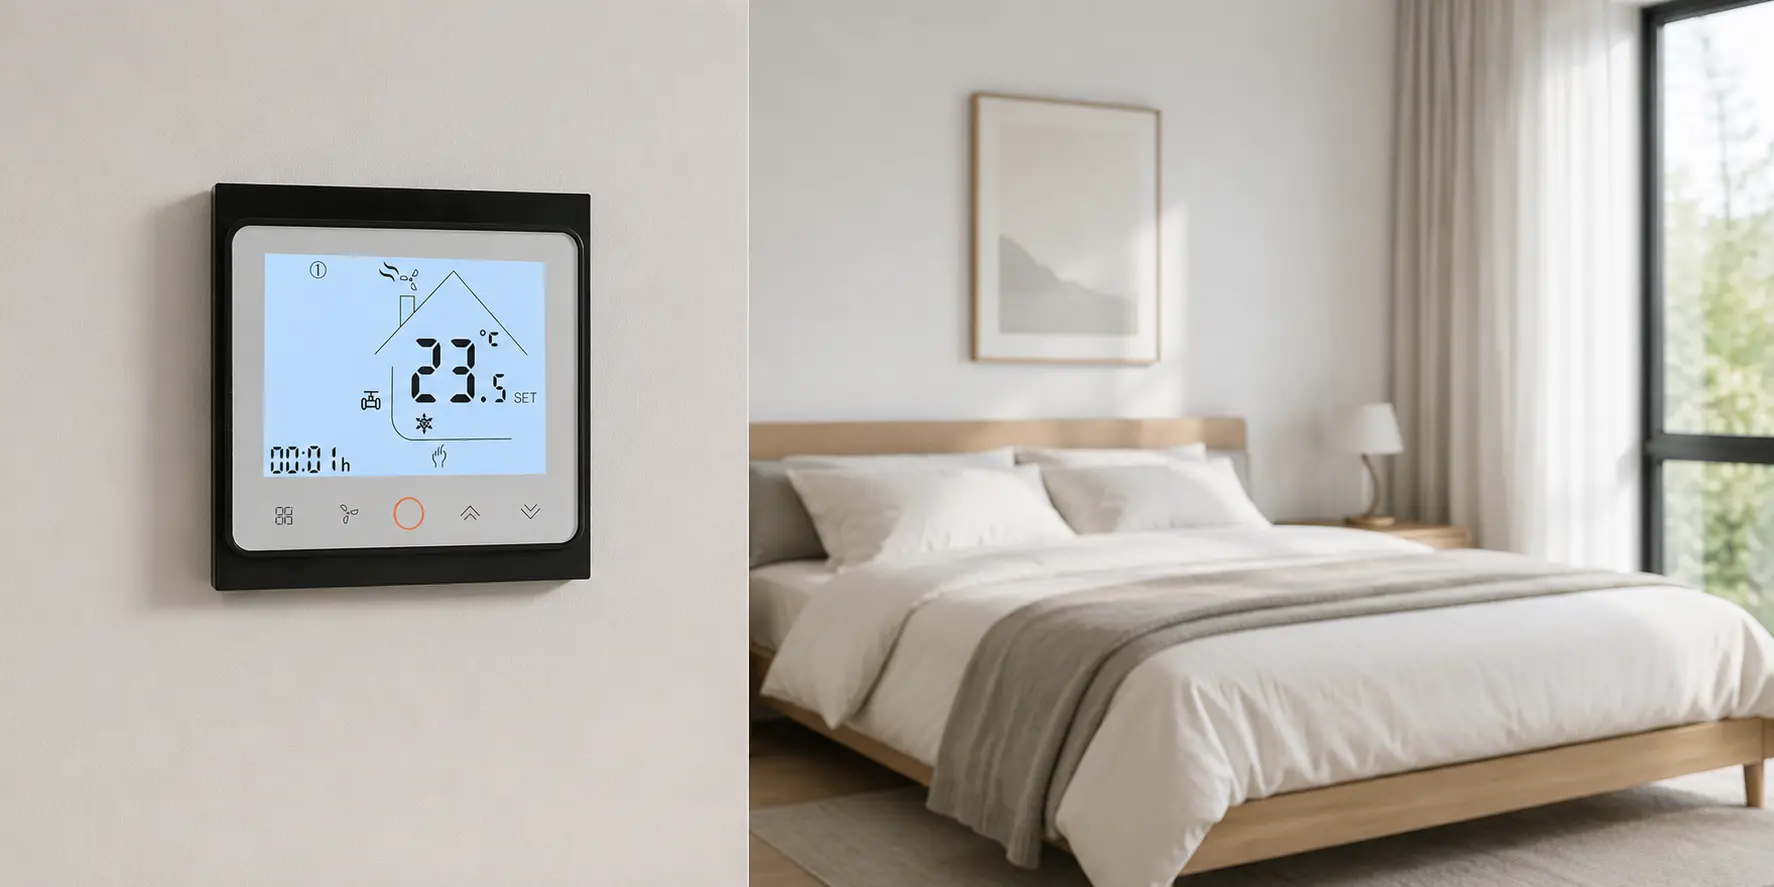
That is the point where many underfloor heating thermostat installation problems begin. The thermostat is on site. The wall box is ready. The cable tails are visible. The installer wants to move forward quickly. But if the project has not clearly confirmed the system type, the control mode, the floor sensor logic, and the load role, wiring too early can create wrong control, confusing behaviour, or later customer complaints. In many real projects, the thermostat itself is not the first problem. The problem starts when wiring is treated like a simple finishing step instead of the final stage of a control decision.
This matters because an underfloor heating thermostat is not wired the same way for every project. Electric underfloor heating and water underfloor heating are different control categories. Some thermostats are designed to work with direct electric floor-heating loads. Others are better understood as room thermostats within a wider water-based zone-control system. Some need floor sensor logic as a core control requirement. Others are judged more by room-control behaviour. If those points are not checked before wiring, the thermostat may still power on, but the heating result may still be wrong.
Quick Summary: The 5 Checks That Prevent Most Wiring Problems
Most underfloor heating thermostat wiring problems can be reduced by confirming five things first. First, is the system electric underfloor heating or water underfloor heating? Second, does the thermostat need a floor sensor, an air sensor, or both? Third, what is the control mode that should be used after wiring? Fourth, is the thermostat actually suitable for the load or control role in this project? Fifth, do the installation documents clearly explain terminal use, sensor placement, and setup sequence? If those five points are clear, wiring becomes much safer and much more predictable.

Why Wiring Should Never Be the First Step
In many projects, the visible installation sequence makes wiring feel like the natural starting point. The wall is ready, the power feed is present, and the thermostat terminals are visible. But good thermostat installation starts earlier than that. It starts with confirming what the thermostat is expected to control.
If that point is missed, the wiring process can move forward while the real project definition is still unclear. The installer may connect a thermostat that looks correct but is intended for a different type of control role. The project may assume room-temperature-only logic when electric floor-heating control really needs floor sensor support. Or a thermostat may be wired correctly according to its terminals but still be wrong for the water-based or multi-zone system behind it.
This is why underfloor heating thermostat installation should be treated like a control-logic confirmation process, not just an electrical connection task. Correct wiring begins with correct interpretation.
Confirm the System Type Before Anything Else
The first installation check is the system type. This is the point that defines almost everything else. Electric underfloor heating thermostat and water underfloor heating thermostat should not be wired with the same assumptions.
Warmup’s public guidance distinguishes these two categories clearly. Electric underfloor heating is commonly used in smaller areas, retrofits, or room-based upgrades where the thermostat often acts as a direct local control for the electric heating system. Water underfloor heating is more often part of a broader heating structure and may involve zoning logic, actuators, or manifold control. That means a thermostat that looks suitable in one project may still be the wrong installation choice in another if the heating system type is not confirmed first. :contentReference[oaicite:1]{index=1}
| System Type | Typical Installation Role | What Must Be Confirmed Before Wiring |
|---|---|---|
| Electric underfloor heating | Direct local control of electric mats or cables | Load type, current suitability, floor sensor requirement, sensor mode |
| Water underfloor heating | Room or zone control within a wider heating system | Zone logic, actuator compatibility, controller role, broader system integration |
If this system-level check is skipped, wiring can still be completed and still lead to wrong control.
Confirm Whether the Thermostat Requires a Floor Sensor
This is one of the most important installation checks, especially in electric underfloor heating. Heatmiser’s manuals are very direct on this point: built-in air sensor only must not be used to control electric under-floor heating, and floor sensor only or air plus floor sensor together should be used instead. That is not a minor setup recommendation. It is a wiring-stage control requirement. :contentReference[oaicite:2]{index=2}
That means installers should not treat the floor sensor as something to think about later, after the thermostat has already been wired and mounted. If the project requires floor sensor logic, the floor sensor must be part of the confirmed installation plan before the thermostat is connected. Otherwise, the thermostat may look ready, but the control system behind it is still incomplete.
In practical terms, this also affects site coordination. The floor sensor needs to be routed correctly, placed correctly, and protected correctly before the final finish makes later changes difficult. This is why floor sensor confirmation belongs at the start of installation planning, not at the very end.

Confirm the Sensor Mode Before Power Is Connected
Even when the project includes the correct external floor sensor, one more installation mistake remains common: the sensor mode is not clearly defined before wiring and setup. A thermostat may support floor-sensor-only, air-sensor-only, or air-plus-floor control. If the installer wires first but leaves the mode undefined, the final control result may still be wrong even though the thermostat powers on correctly.
Floor-sensor-only mode
This mode is often used where the floor temperature itself is the primary control target. It can be very relevant in electric floor-heating applications where floor comfort or surface control is central to the project.
Air-sensor-only mode
This mode feels more like a standard room thermostat approach, but it should not be treated as the default for every underfloor heating project. In electric underfloor heating, manufacturer guidance makes clear that air-sensor-only logic is often not suitable by itself. :contentReference[oaicite:3]{index=3}
Combined air-plus-floor mode
This mode is often the most balanced when the project wants room comfort while also keeping the floor inside a practical temperature range. It is frequently the safest choice when both room feeling and floor behaviour matter.
The key point is simple: the thermostat mode should not be guessed after installation. It should be defined before wiring and confirmed again during setup.
Confirm the Thermostat’s Real Load or Control Role
Another installation problem starts when a thermostat is wired according to its visible terminals without first confirming what role it is actually supposed to play in the system. In some projects, the thermostat directly controls an electric heating load. In others, it functions more like a room thermostat within a wider system. In water-based applications, it may interact with other control devices rather than switching the entire heating behaviour directly by itself.
This matters because the installer may correctly identify the line, neutral, sensor terminals, and output terminals while still misunderstanding the control intention behind them. A thermostat that is fine for one heating arrangement may be a poor fit for another, even if the casing and display look similar.
For this reason, buyers and installers should treat product category labels carefully. A broader heating-control thermostat such as a 220V boiler thermostat with Modbus, a house thermostat for water heating and boiler heating, a 3A water-heating thermostat, a 24VDC output PICV thermostat with Modbus, or a keycard HVAC thermostat may be useful in wider heating and room-control discussions, but those product categories should not be assumed to be direct underfloor heating thermostat substitutes unless the actual control role matches.
Confirm Sensor Placement Before the Wall Is Closed
In underfloor heating thermostat installation, the floor sensor is not only a specification item. It is also a physical installation item. Warmup’s installation guidance for its electric systems states that the floor sensor should be installed centrally between the two closest parallel runs of heating cable and away from other heat sources such as hot water pipes. That means sensor placement is not arbitrary. It affects the measurement quality and therefore the control result. :contentReference[oaicite:4]{index=4}
If the sensor is badly placed, the thermostat may appear unstable even when the wiring is electrically correct. This creates the kind of complaint that is difficult to solve later because the issue is hidden under the floor finish rather than visible on the thermostat itself. That is why installers should confirm the path, depth, and placement logic of the floor probe before the area is closed.
In practical site work, this is one of the most valuable checkpoints because it affects long-term serviceability as well as immediate control quality.
Confirm Residential or Commercial Installation Expectations
Another important installation-stage question is whether the project is residential or commercial. This does not only affect the buying decision. It also affects what “correct wiring” should ultimately deliver as an operating result.
In residential projects, installation often needs to support easy user understanding, clear daily schedules, and a straightforward comfort experience. In commercial projects, the thermostat may need to behave consistently across multiple rooms, support simpler commissioning, or fit a wider control structure. Uponor’s room temperature controls are marketed for both residential and commercial use, but the emphasis changes by audience: comfort and energy savings for homeowners, and easy setup, installation, and commissioning for installers and planners. That is a useful reminder that installation success is judged differently in different project types. :contentReference[oaicite:5]{index=5}
So before wiring begins, the installer should know not only what the thermostat is connected to, but also what kind of project behaviour the thermostat is expected to support.

Confirm Whether WiFi Changes the Installation Plan
WiFi does not change the core heating logic, but it can change how the thermostat is commissioned and supported. If the project uses a WiFi thermostat, installers and buyers should confirm whether the site really needs app access, remote management, or smart scheduling before installation begins. Warmup presents its smart thermostats as controls that support automatic heating functionality and energy-efficiency benefits, but those benefits depend on correct system fit and setup. :contentReference[oaicite:6]{index=6}
In some projects, WiFi adds real value. In others, it adds another setup step without solving the original control question. If the sensor mode is wrong or the thermostat is mismatched to the heating type, WiFi does not correct that. It only gives the user a more advanced interface for the same wrong control result.
So WiFi should be treated as an installation consideration, not as a reason to skip the earlier checks.
Confirm the Document Package Before the Electrician Starts
One of the most practical installation basics is documentation. A thermostat should not be wired from memory, assumption, or visual similarity alone. Before installation begins, the buyer or installer should confirm that the project has the datasheet, terminal explanation, sensor-mode guidance, wiring note, and basic installation instructions.
This matters even more in export projects. The thermostat may arrive in one country, be installed in another, and be supported remotely by a different technical team. In that situation, weak documents create hidden cost very quickly. They delay installation, increase uncertainty, and make simple questions harder than they should be.
Strong documentation does more than prevent mistakes. It also makes commissioning faster, reduces back-and-forth questions, and helps the installer understand what the thermostat is really supposed to do.
Common Underfloor Heating Thermostat Wiring Mistakes to Avoid
- Starting wiring before confirming whether the system is electric or water-based.
- Treating the floor sensor like an optional accessory in an electric floor-heating project.
- Wiring the thermostat without confirming whether it should use air, floor, or combined sensor logic.
- Assuming a visually similar thermostat has the same control role.
- Ignoring floor-sensor placement quality before the floor is closed.
- Using residential installation expectations in a commercial multi-room project.
- Assuming WiFi makes setup automatically easier.
- Beginning installation without a clear document package.
These mistakes are common because thermostat products often look simpler than the control systems behind them. But underfloor heating installation is rarely just a front-panel task.
Expert Commentary: Good Wiring Starts with Good Clarification
The strongest pattern across underfloor heating thermostat installation problems is not random product failure. It is poor clarification before wiring. The installer knows how to connect wires, but the project still has not confirmed the control role. The thermostat is on the wall, but the sensor mode is still vague. The system powers on, but the real complaint appears only after the user tries to live with the result.
We support thermostat projects for electric floor heating, WiFi floor-heating control, water heating, boiler-linked heating, and broader room-control environments where stable control depends more on correct logic than on display style alone. In practical work, the most reliable installations usually come from projects that confirm the system type, sensor role, and installation requirement before the first wire is connected.
Scientific Data and What It Means
Public technical guidance makes several useful points clear. Heatmiser states that electric under-floor heating must not be controlled by built-in air sensor only and should use floor sensor or both. Warmup’s installation materials specify that floor sensors should be placed centrally between parallel heating cable runs and away from other heat sources. Uponor’s control systems for residential and commercial projects emphasise easy setup, fast wiring, commissioning, and broad installation fit. These points all support the same practical lesson: underfloor heating thermostat installation depends on more than voltage and terminal matching. It depends on correct control definition before wiring begins. :contentReference[oaicite:7]{index=7}
Real Cases and User Feedback
Case 1: Electric floor-heating installation with unclear sensor logic
An installer received a thermostat that looked suitable for electric underfloor heating, but the site had not clearly defined whether the thermostat should use floor control or combined air-plus-floor control. The thermostat was wired successfully, but the heating result still felt wrong until the project revisited the control mode.
Case 2: Commercial project with residential-style setup assumptions
In another project, a thermostat installation approach that felt fine for a small residential room was repeated across a broader commercial layout. The complaint later was not that the wiring failed electrically, but that the control behaviour was not consistent enough across rooms. The real issue was project expectation, not only the terminal connections.
Case 3: WiFi thermostat project where the app was not the real problem
A WiFi thermostat was installed because the user wanted a smarter interface. Later, the app worked, but the floor-heating result was still unsatisfactory. The issue turned out to be sensor logic and system-fit assumptions rather than the smart feature itself.
User feedback pattern: Installers and users often describe the issue in simple words. They say the floor feels wrong, the room control seems unstable, or the thermostat powers on but the comfort still feels off. Behind those comments, the cause is often one of the pre-wiring checks that was skipped.
Frequently Asked Questions
1. What should I confirm before wiring an underfloor heating thermostat?
You should confirm the heating system type, the floor sensor requirement, the control mode, the thermostat’s actual load or control role, and the installation documents before wiring begins.
2. Do I need a floor sensor for electric underfloor heating?
In many electric underfloor heating projects, yes. Manufacturer guidance commonly states that built-in air sensor only should not be used by itself and that floor sensor or combined air-and-floor control should be used instead.
3. Can I wire an underfloor heating thermostat like a normal room thermostat?
Not as a general rule. An underfloor heating thermostat may need different sensor logic and may control the heating system differently from a simple room thermostat, especially in electric floor-heating applications.
4. Why does my thermostat power on but still control the floor heating badly?
Because electrical power alone does not confirm correct control logic. The thermostat may still be using the wrong sensor mode, the wrong system assumption, or the wrong installation setup for the project.
5. Does WiFi change how an underfloor heating thermostat should be installed?
WiFi may add commissioning or app-setup steps, but it does not replace the need to confirm system type, sensor role, and control fit before wiring.
References / Sources
- Heatmiser, Heatmiser SmartStat Manual
- Heatmiser, Model DT-ETS / DT-ENTS Manual
- Heatmiser, neoStat-e Manual
- Warmup, Underfloor Heating Thermostats
- Warmup, Understanding Your Underfloor Heating Control Options
- Warmup, Smart Heating Controllers for your Home
- Warmup, Inscreed Installation Manual
- Uponor, Room Temperature Controls
- Uponor, Wired room temperature control 230 V
- Uponor, Smatrix Wave Pulse Installation and Operation Manual